CS2 Workshop Maps With Friends and How to Play Together
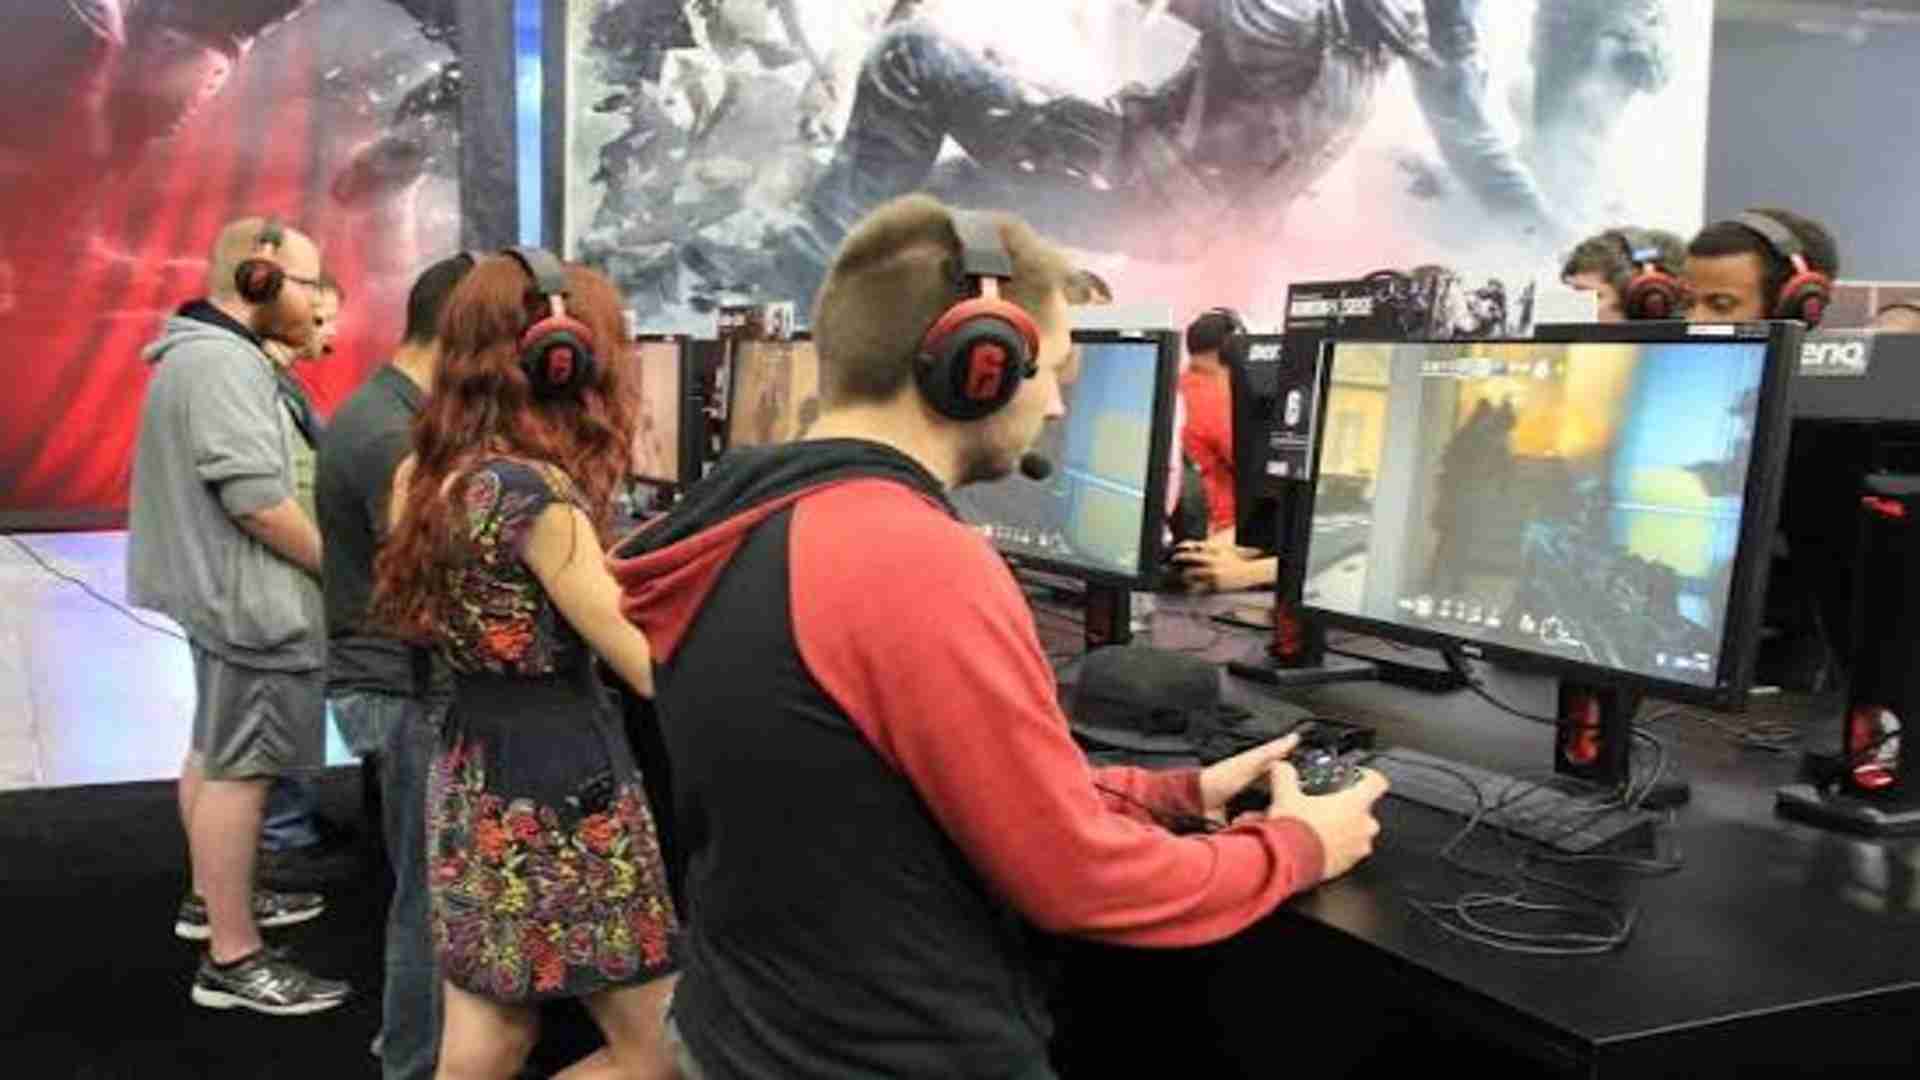
Counter-Strike 2 has completely transformed the tactical shooter landscape, but the true heart of community bonding often lies within custom user creations. Playing custom Steam Workshop maps with your group provides a refreshing break from the intense competitive matchmaking ranks. Whether you want to practice your grenade lineups or challenge your friends to an absurd custom game mode, setting up a shared lobby is easier than ever before.
Subscribing to Custom Maps on Steam
Before you can host an active session, every player needs access to the same custom assets. To begin, open your Steam client interface, navigate directly to your game library, and select the dedicated Counter-Strike 2 hub page. From there, click on the Workshop tab to browse through thousands of unique community-generated maps designed by creative virtual architects.
When you locate an interesting layout, simply click the green subscribe button to trigger an automatic background download. Steam will handle the installation process completely behind the scenes, ensuring your game client remains completely updated. It is highly recommended that your friends subscribe to the exact same map beforehand to avoid any potential connection errors or long loading screens when joining the lobby later.
Setting Up Your Private Multiplayer Lobby
Once your desired arenas are successfully installed, launch Counter-Strike 2 to begin configuring your private group environment. Click the primary Play button from the main dashboard menu and select the Workshop Maps option from the available game modes. This interface will display a clean grid of all your currently subscribed custom environments.
Invite your chosen friends into your active party using the standard in-game social panel or Steam overlay shortcuts. As the designated lobby host, you possess complete control over the active map rotation and environmental configurations. Simply click on the target map card from your list and select the green Go button situated at the bottom right corner of your screen.
Choosing the Ideal Game Mode and Permissions
A secondary configuration pop-up window will prompt you to choose your desired playstyle parameters before launching the local server structure. You can choose from classic competitive rules, casual team deathmatch settings, or completely customized server mechanics depending on the design intentions of the map creator. Ensure your party permissions are set to open or friends-only so your guests can maintain a stable link.
Clicking the final confirmation button will initialize a local host environment, loading your entire group into the custom battlefield simultaneously. If anyone experiences unexpected disconnects during the initial loading phase, the server administrator can easily issue direct invites to pull them back into the active round. Enjoy exploring unique community creations, practicing complex tactical executions, and creating unforgettable gaming memories with your trusted squad.